Using Docker container to run Mule ESB on Raspberry Pi3
Mule runtime is a lightweight, java based enterprise service bus (ESB) and integration platform. It allows the developers to connect with different systems and applications.
In Previous post, we learned how to install Mule ESB on Raspberry Pi3. It is a multi-step procedure to install and configure it.
In this post, we will use Docker container to run Mule on Raspberry Pi3 and run a simple application.
If you have not heard about Docker, then you have probably spent the last few years on some other planet of the Solar system.
In Docker for Java Developers blog post on JavaCodeGeeks
What do we need?
This article assumes that you are familiar with Raspberry Pi and MuleSoft ESB server. Below are the pre-requisites for this installation -
-
Raspberry Pi 3 device with latest Raspberry Pi OS installed.
-
Access to internet
Installing Docker on Raspberry Pi3
Raspberry Pi officially supports Docker. To summarize the installation procedure, here are the commands to run on the console in Raspberry Pi3 -
-
Run Docker installer with this command -
curl -sSL https://get.docker.com | sh -
Register Docker to auto-start -
sudo systemctl enable docker -
Docker can only be used by root or members of docker user group -
sudo usermod -aG docker pi -
Start Docker daemon -
sudo systemctl start docker
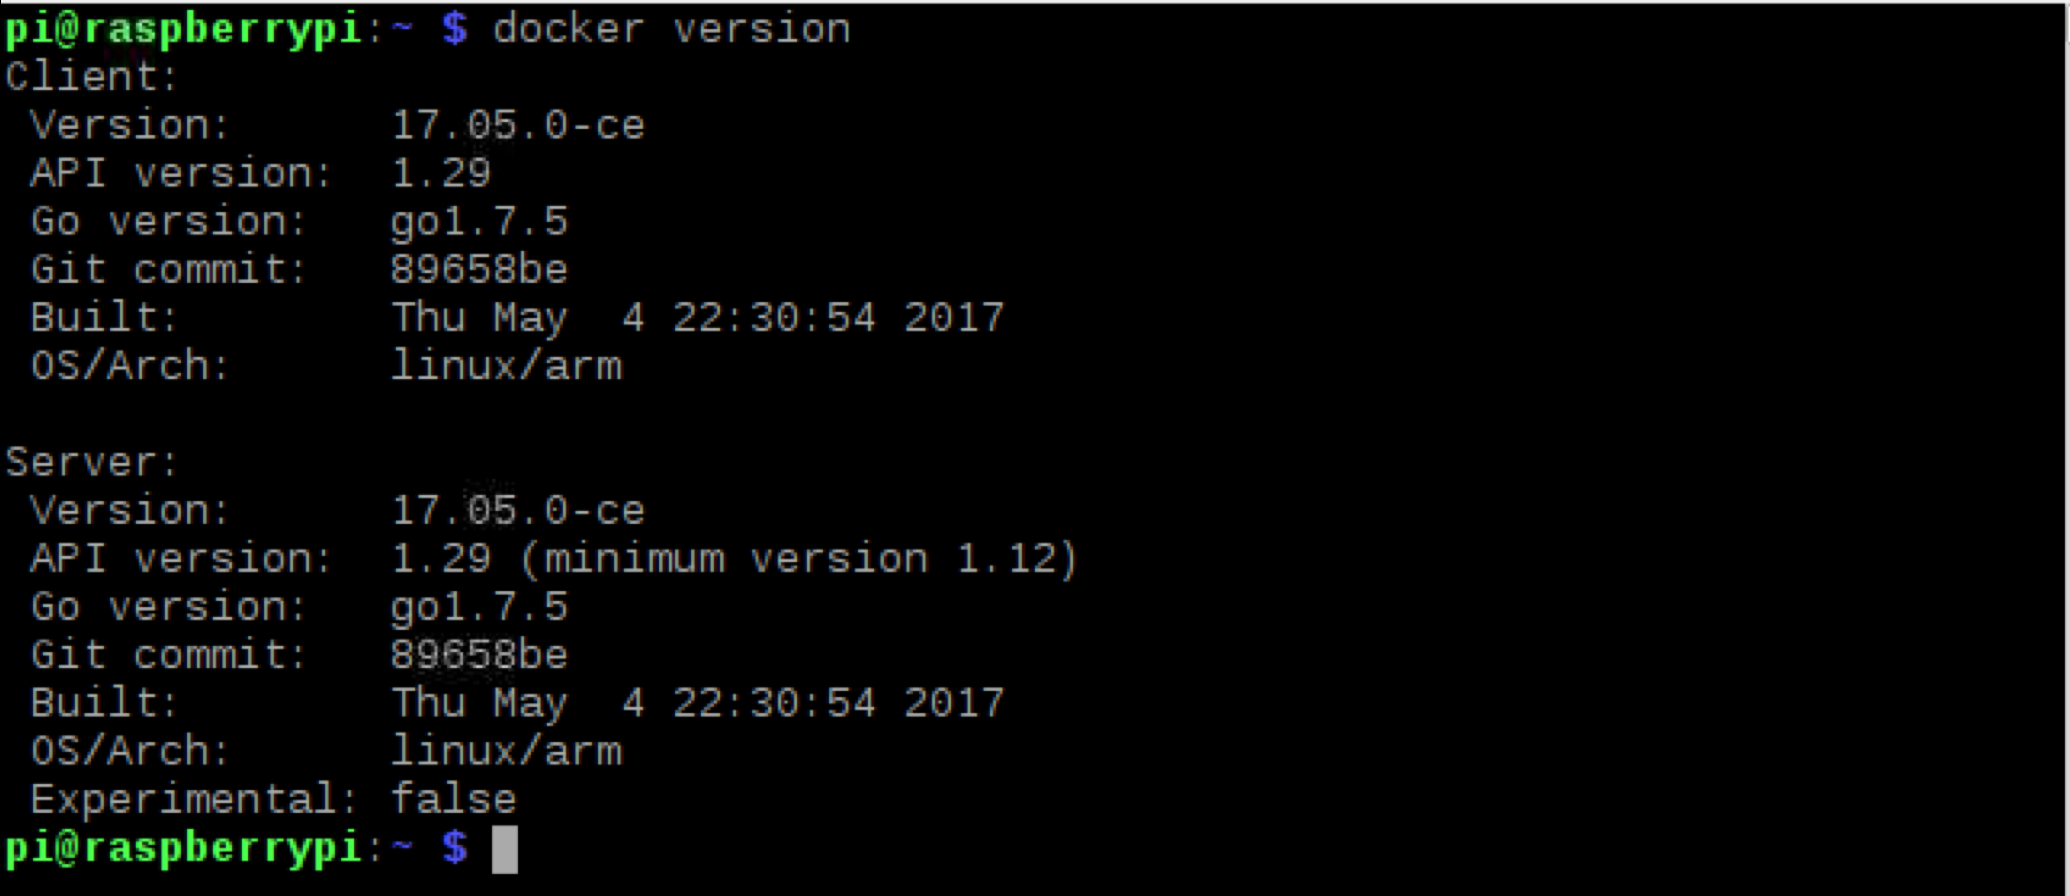
To verify that Docker is running, type docker version command on the console.
Docker Image for Mule
Docker containers are created from pre-built images. Once the image is built, it can be hosted on Docker hub which is a docker image registry maintained by Docker Inc.
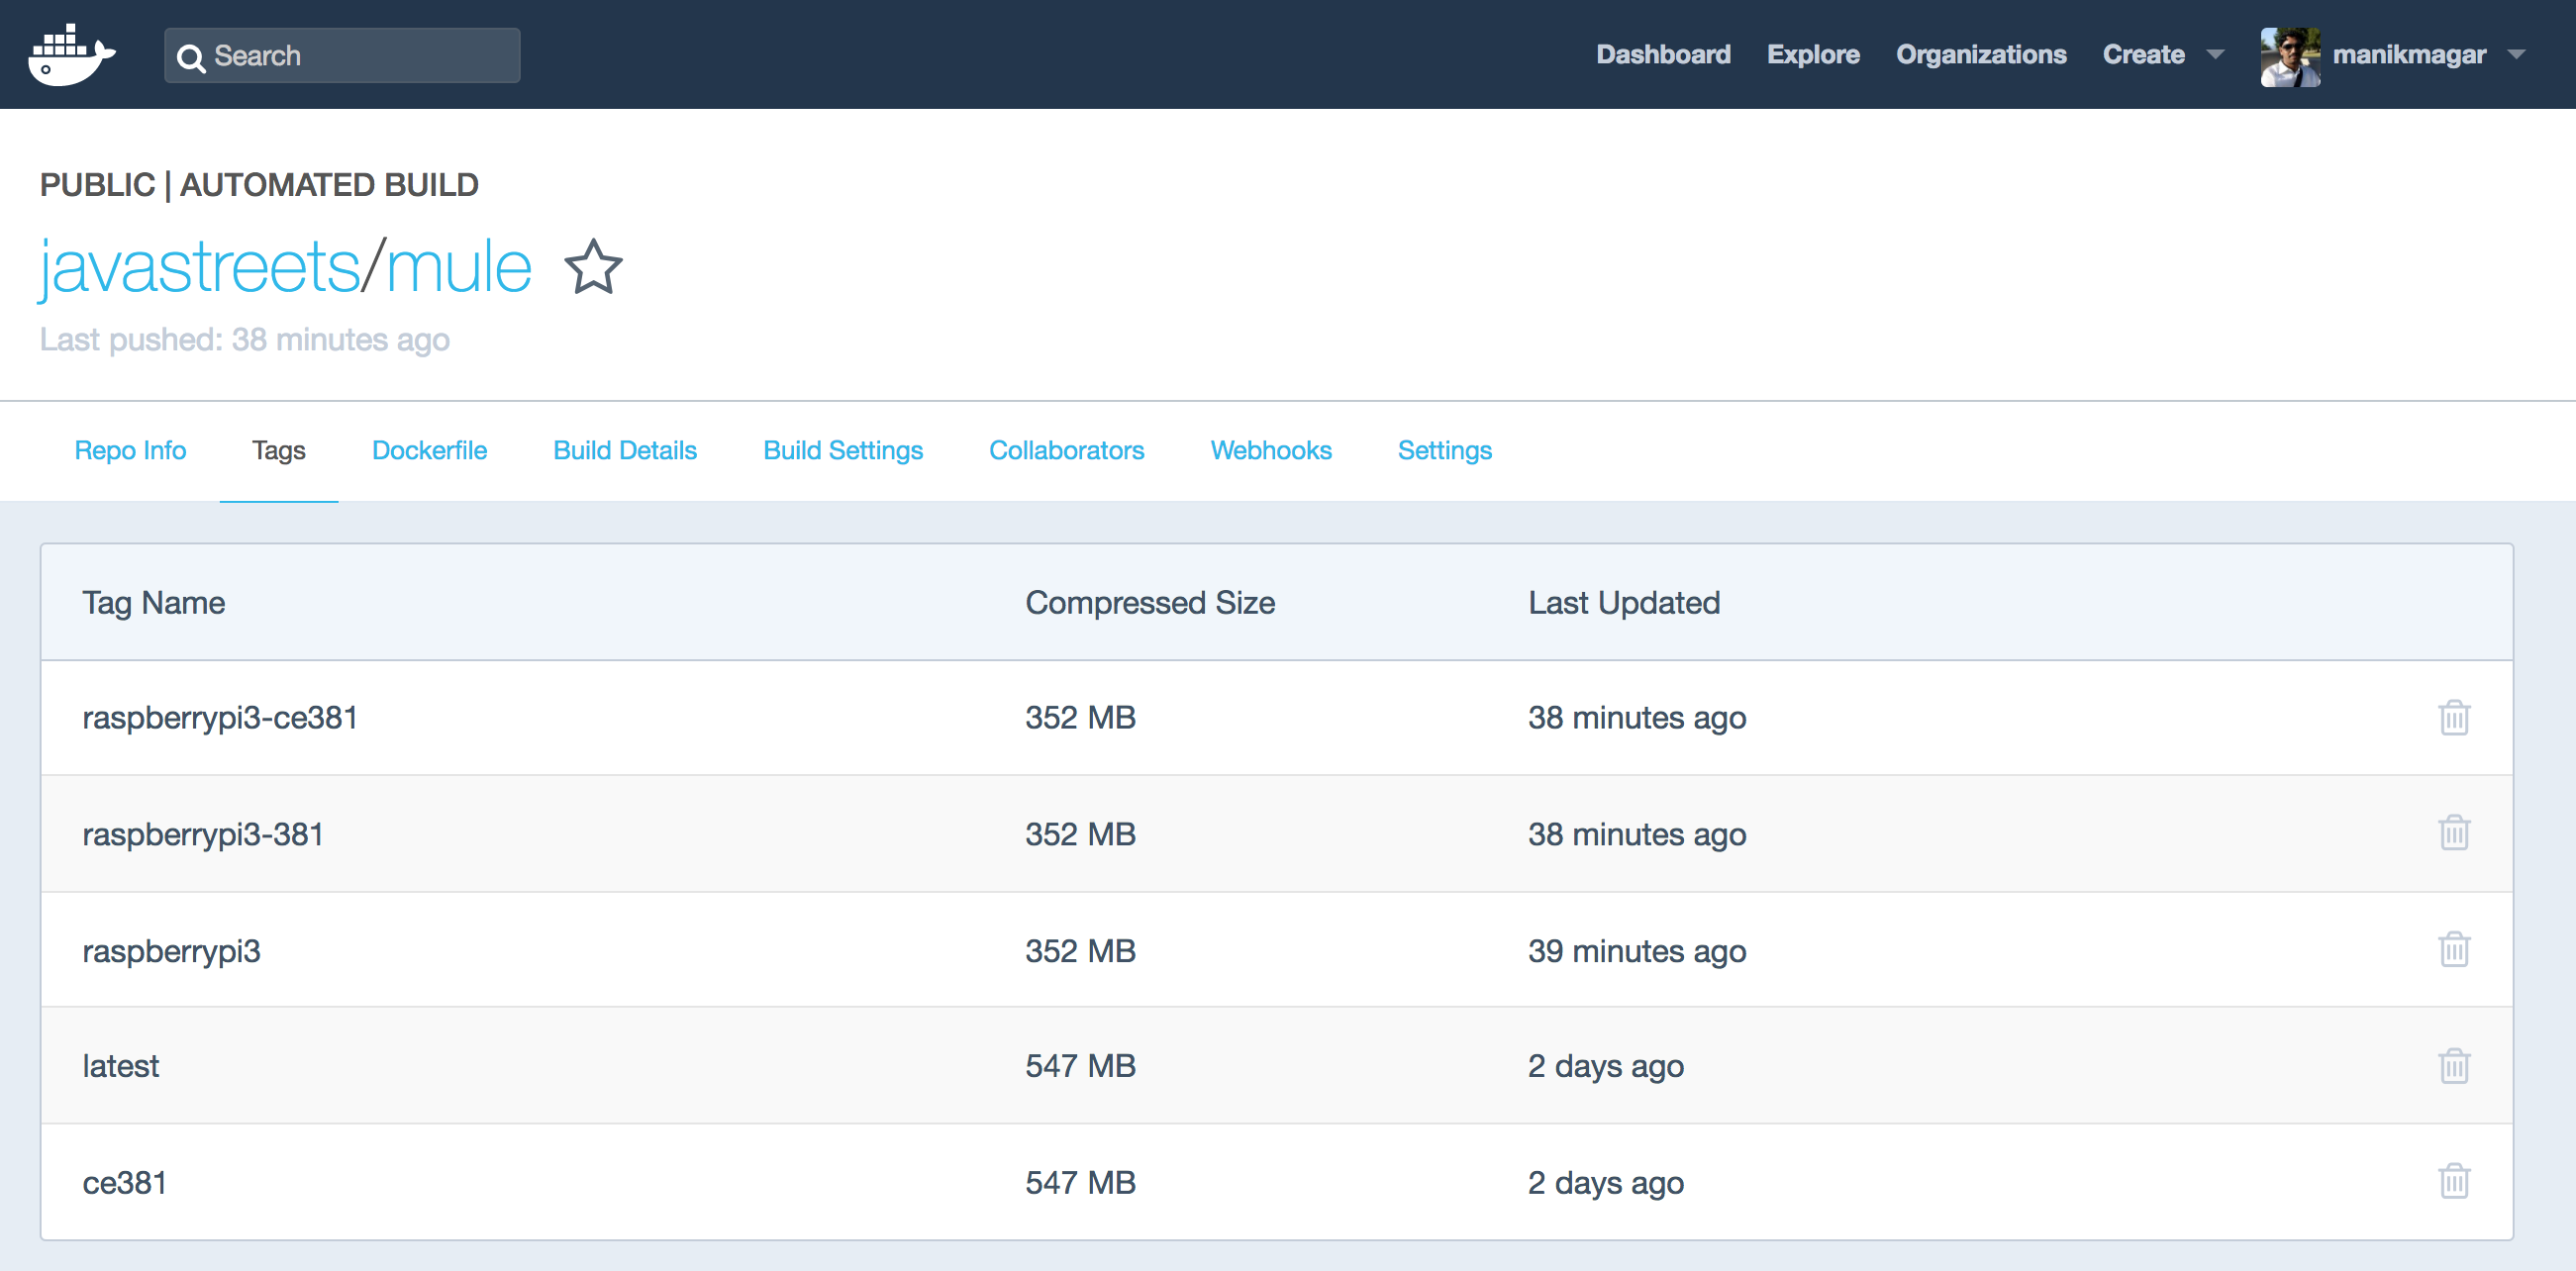
I have created a Docker image containing Mule Community Runtime 3.8.1 on Raspberry Pi OS.
| Always check Docker Hub here for latest Version of Mule image. |
Preparing Raspberry Pi For Mule
Our Mule ESB will be running inside a docker container and files from the container does not persist unless mapped to external volumes.
Let’s create some folders on Raspberry Pi to hold our applications, logs and configuration files so that they are persisted outside of our docker container.
$ mkdir -p ~/mule/apps
$ mkdir -p ~/mule/logs
$ mkdir -p ~/mule/conf
For demo purpose, we will be using a simple hello-world-application that exposes a http://localhost:8081/hello http endpoint.
You can download the source from github and build run mvn package to create zip.
Running the Mule ESB Image
To create the Mule ESB container from our image, run below command on console -
$ docker run -d --name mymule -p 8081:8081 -v ~/mule/apps:/opt/mule/apps -v ~/mule/logs:/opt/mule/logs javastreets/mule:raspberrypi3
flags -
-
-d- Run container in detached mode (i.e. in background) -
--name- Name our container for easy access through other docker commands. -
-p 8081:8081- Expose the default http port and map it to 8081 port of the host. -
-v {localpath}:{image mount point}- Map local directory to docker volume
Container’s timezone is defaulted to 'America/New_York'. To Change the timezone, you can pass timezone as environment variable while starting container - -e TZ=Europe/Amsterdam.
|
When the command is run, it will print the docker container id. To see if the container is running or not, enter docker ps command.

Checking logs
Once the container is running, you can tail the logs by running docker logs -f mymule command.

As we have mapped the volume ~/mule/logs:/opt/mule/logs, you should also see logs generated at ~/mule/logs directory on the host. Check ~/mule/logs/mule.log file -
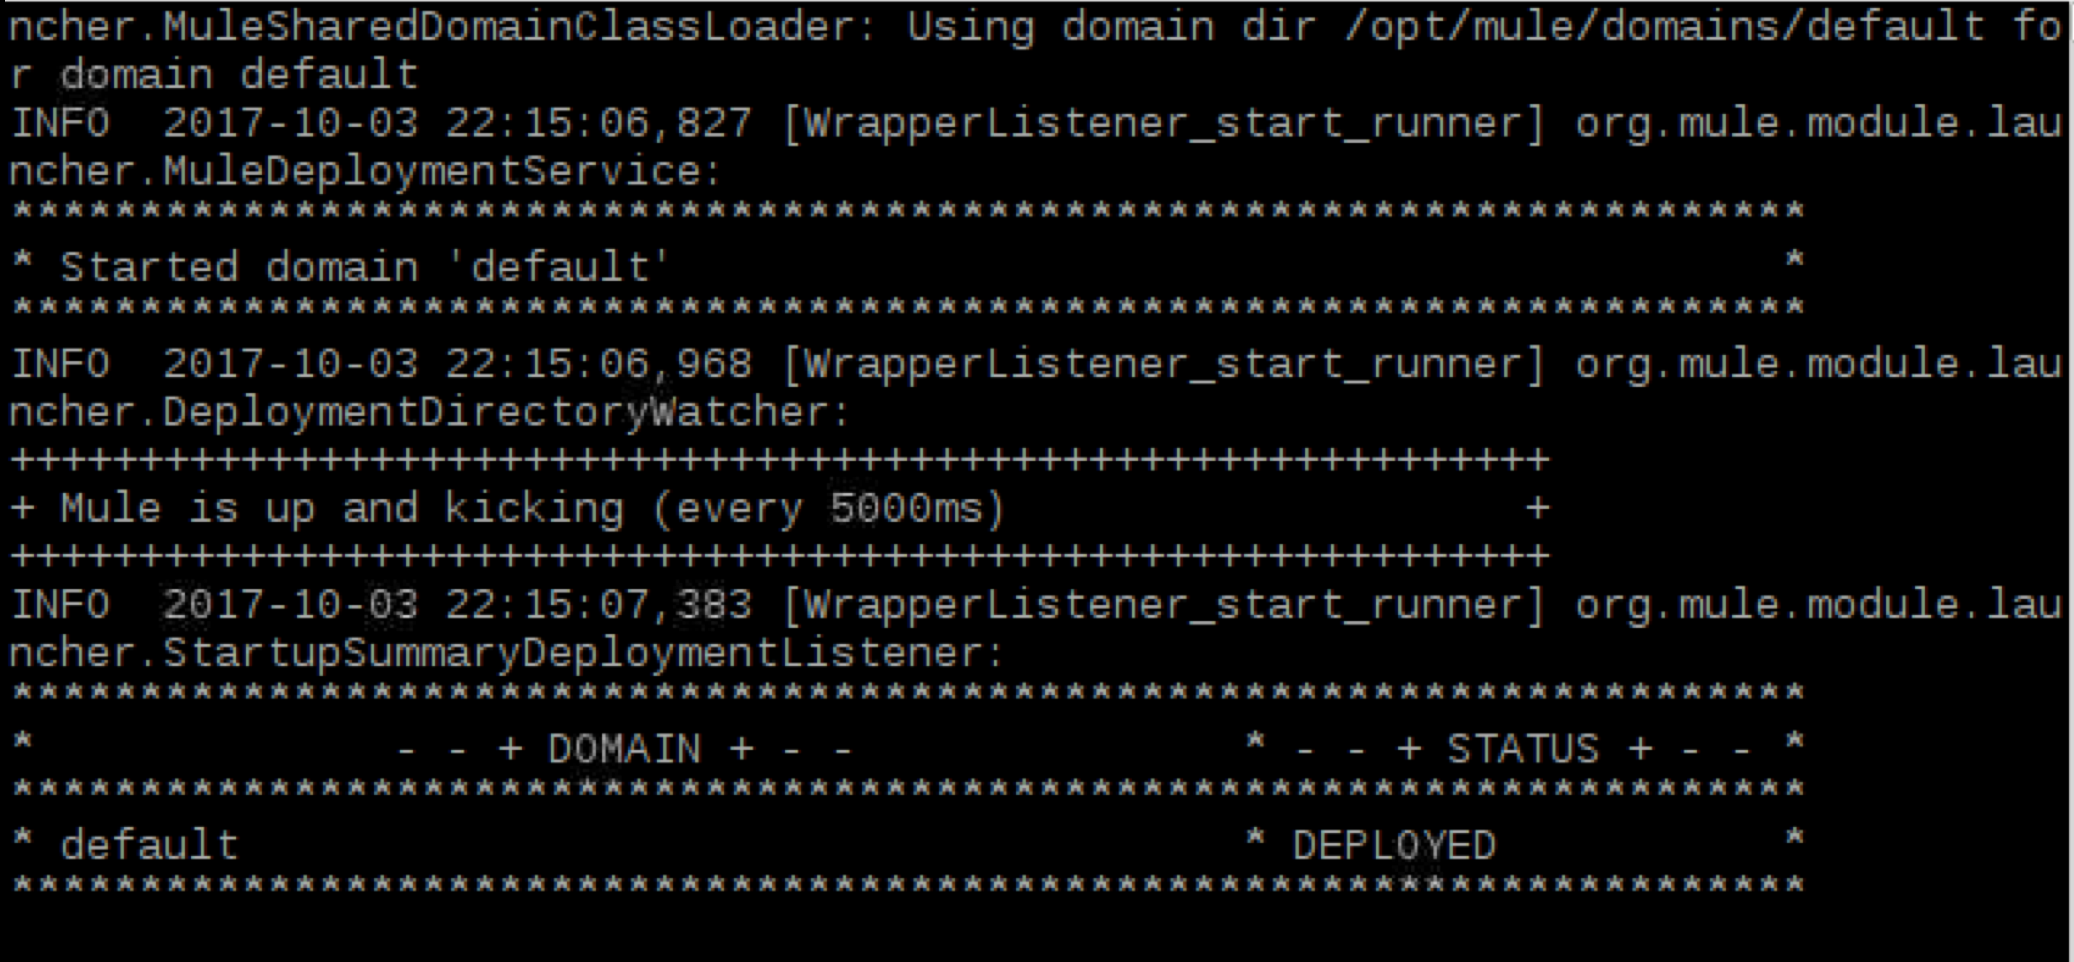
Mule is up and kicking!!
Deploying Application
Now, let’s try to deploy our hello world application. We have mapped ~/mule/apps to docker volume /opt/mule/apps. That means Mule ESB running inside our docker is using ~/mule/apps directory from the host as application directory.
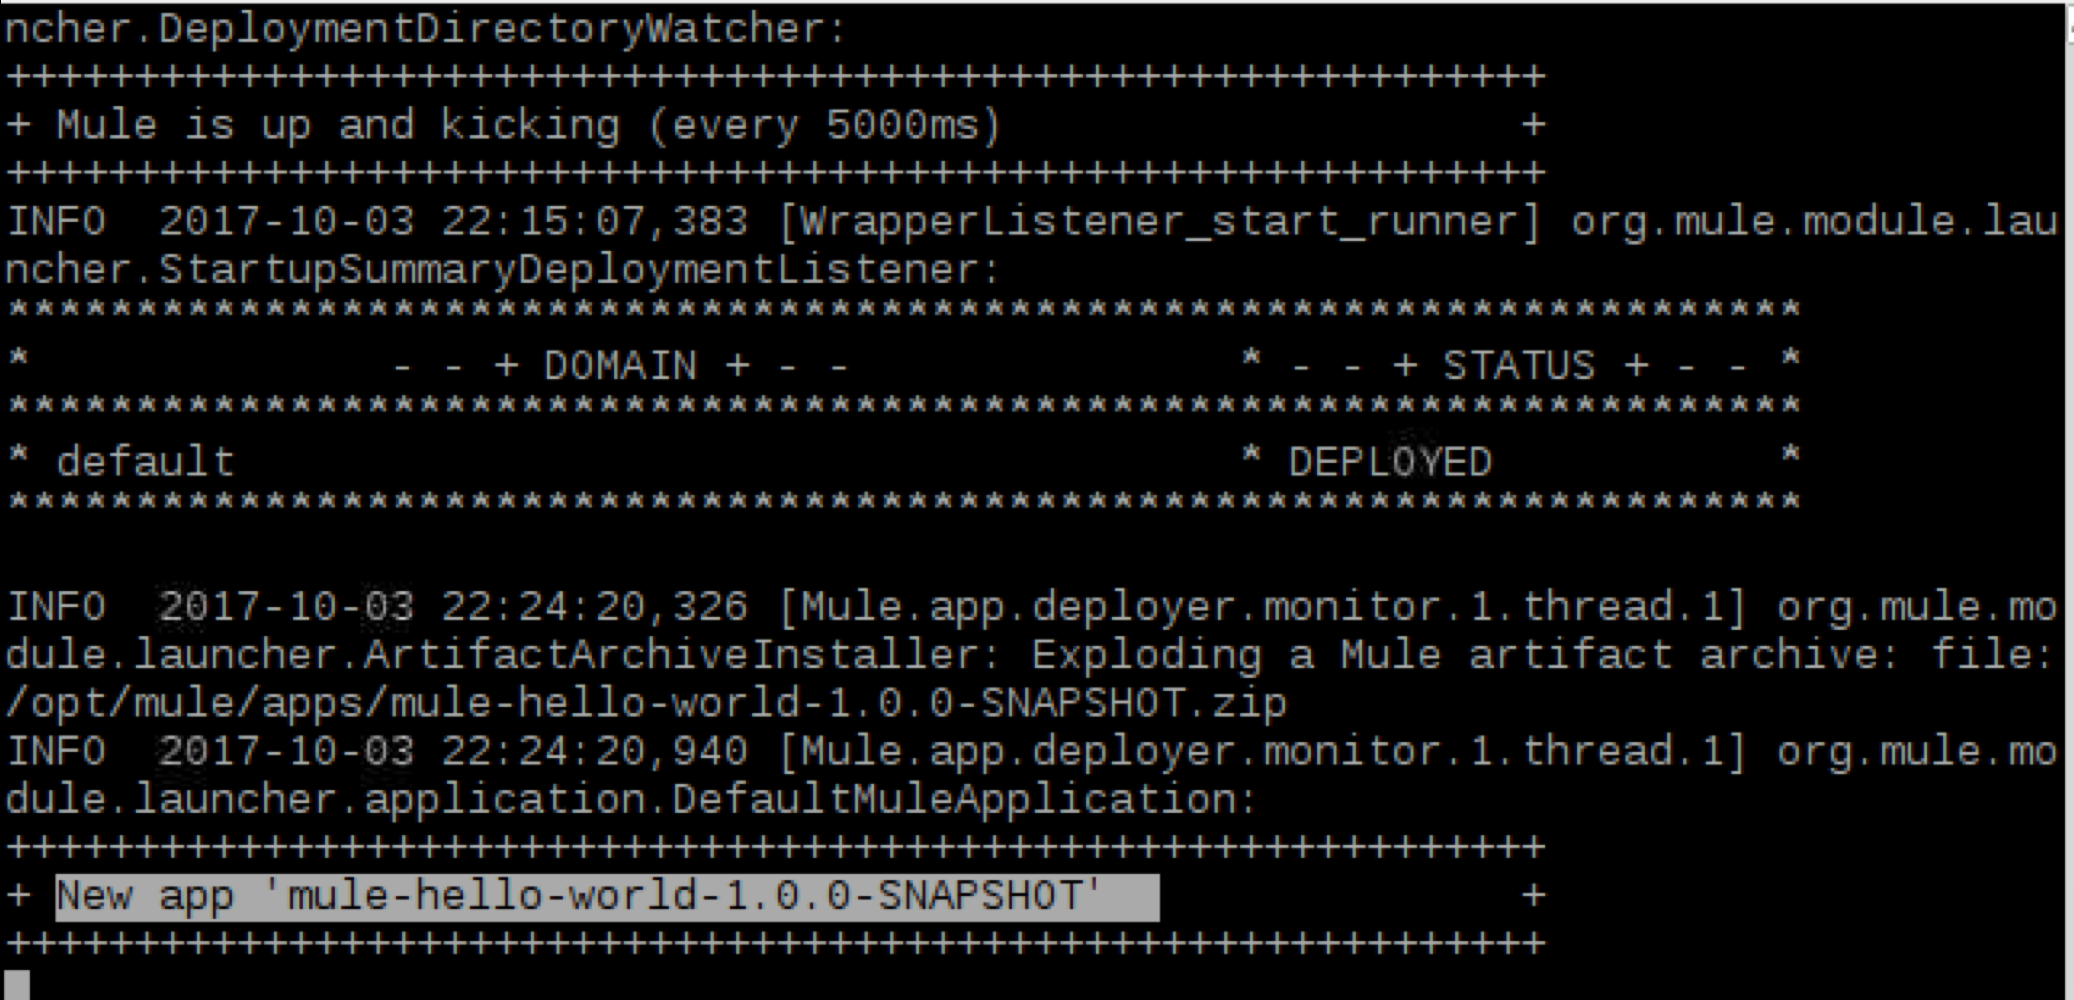
Let’s copy the mule-hello-world-1.0.0-SNAPSHOT.zip to ~/mule/apps folder on our raspberry pi3 host.
Once we drop the file there, it should immediately get deployed as Mule is already running. We can again check our mule.log to confirm that.
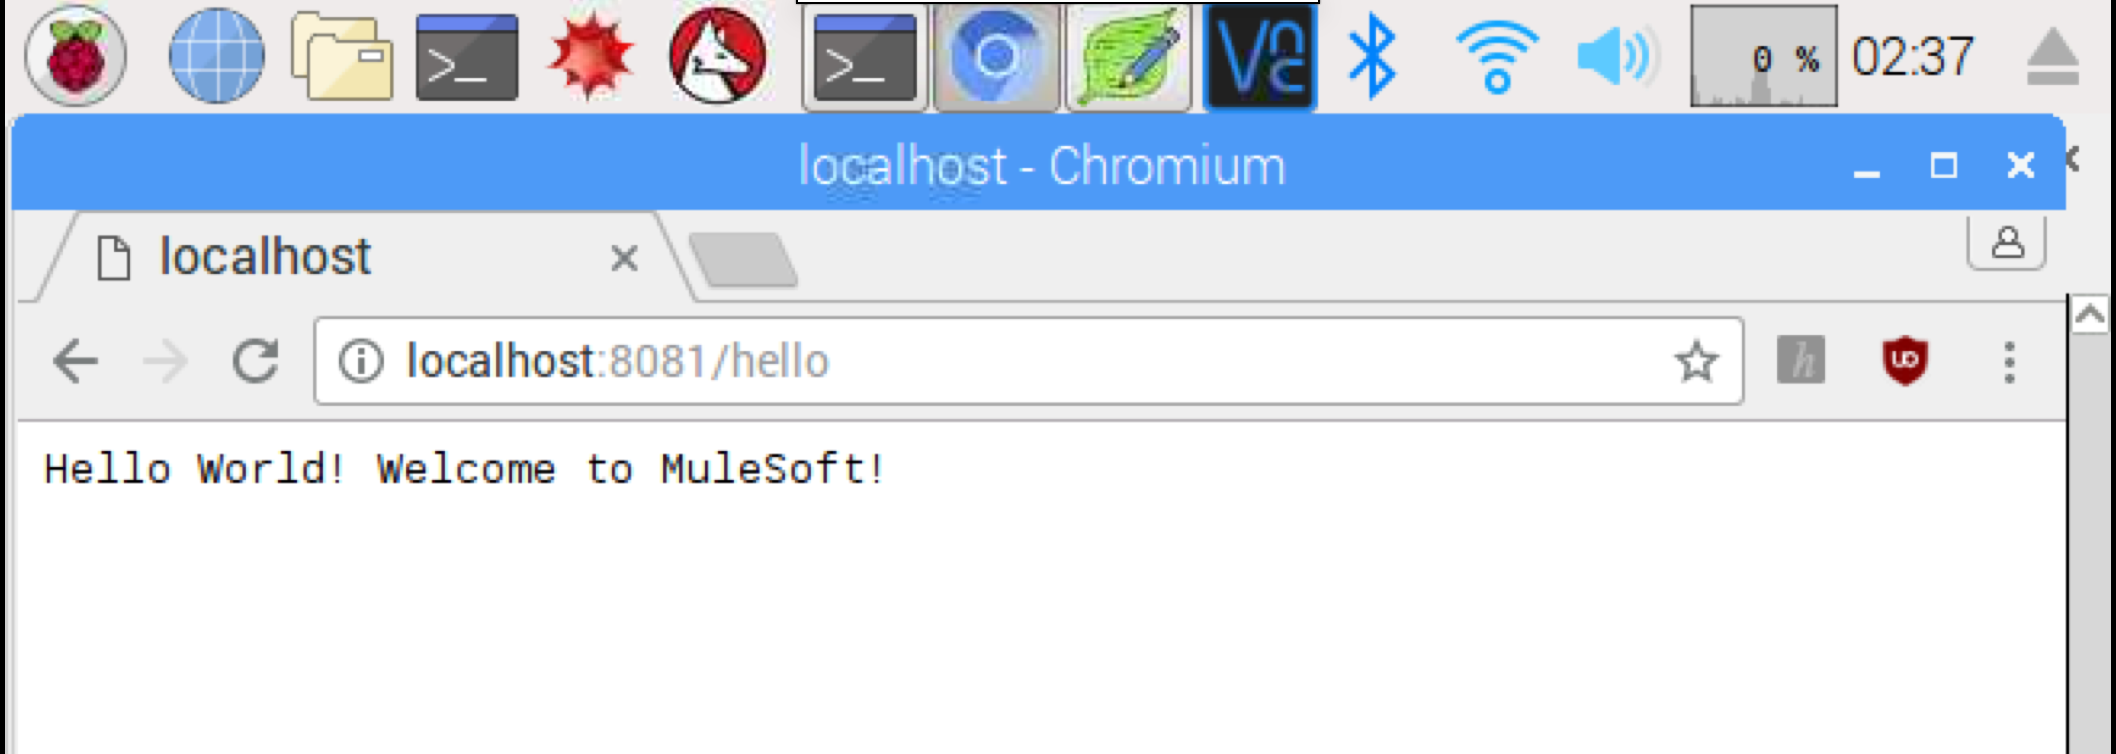
Hello World!
Now, since our application is deployed, we can access the HTTP endpoint exposed by the application.
To verify the port mapped to the host, run docker port mymule -

Open a web browser on raspberry pi3 host and access http://localhost:8081/hello
Conclusion
Mule ESB is a lightweight runtime and Docker makes it easy to pre-configure our runtime image and quickly run it on raspberry pi3.
References and further reading
Stay updated!
On this blog, I post articles about different technologies like Java, MuleSoft, and much more.
You can get updates for new Posts in your email by subscribing to JavaStreets feed here -
Lives on Java Planet, Walks on Java Streets, Read/Writes in Java, JCP member, Jakarta EE enthusiast, MuleSoft Integration Architect, MuleSoft Community Ambassador, Open Source Contributor and Supporter, also writes at Unit Testers, A Family man!